How to CNC Word Puzzles That Slap
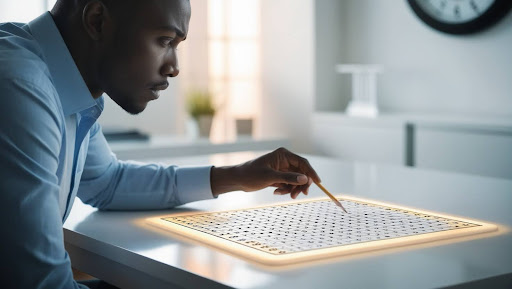
You ever thought about taking that brain-busting word search puzzle and turning it into a 3D masterpiece? Well, now you can with CNC! It’s like taking your puzzle game from boring pencil and paper to a whole new level of epic. I’m talking cutting wood, acrylic, or whatever you can dream of into a word puzzle that’ll slap harder than any brain teaser you’ve done before. Ready to take your CNC skills and word search obsession to the next level? Let’s dive into how to make it happen, step by step, no nerdy science terms required.
Plan Your Puzzle Like a Pro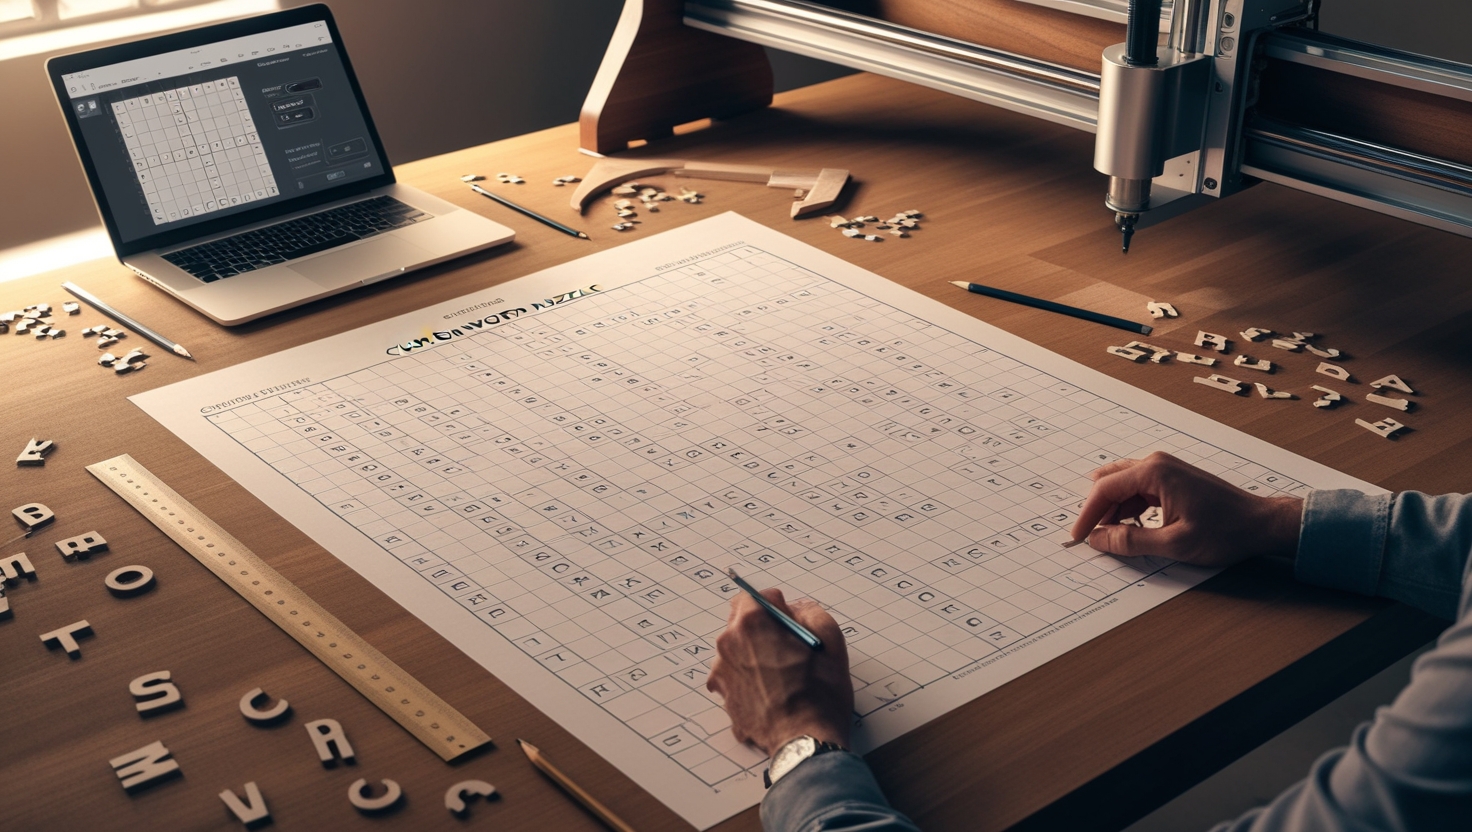
First things first, you gotta pick your words, right? Whether you’re going for something clever, funny, or straight-up savage, the words you choose will make or break this whole thing. Think of a theme — could be movies, slang, or inside jokes — whatever gets your crowd excited. Once you’ve got your words locked down, you’re already halfway to creating a puzzle that’s going to get all the attention.
Pick Your Words
- Stick to a theme.
- Keep the words challenging but fun.
- Mix up word lengths for variety.
Create the Grid
- Decide the grid size (9×9, 12×12, etc.).
- Make sure letters are spaced evenly.
- Leave room for some hidden words.
Get the Spacing Right
- Align the words for symmetry.
- Avoid cramped letters.
- Keep the font size readable.
Now, onto the layout. You can’t just toss the words anywhere; it’s gotta make sense. Lay out your grid and get those words spaced just right. Remember, this thing’s gonna get cut into something solid, so no cramming letters together like your old homework. Give the puzzle some breathing room, but keep it challenging enough that it doesn’t get solved in, like, 10 seconds.
And finally, before we even touch the CNC machine, you gotta map out how it’s all gonna look. The spacing, the angles, even the font you pick — it all matters. You want those letters to be clean and clear when you’re done, so don’t skimp on the prep. Plan it out like a true pro, and you’re setting yourself up for success.
Blueprint Your Word Puzzle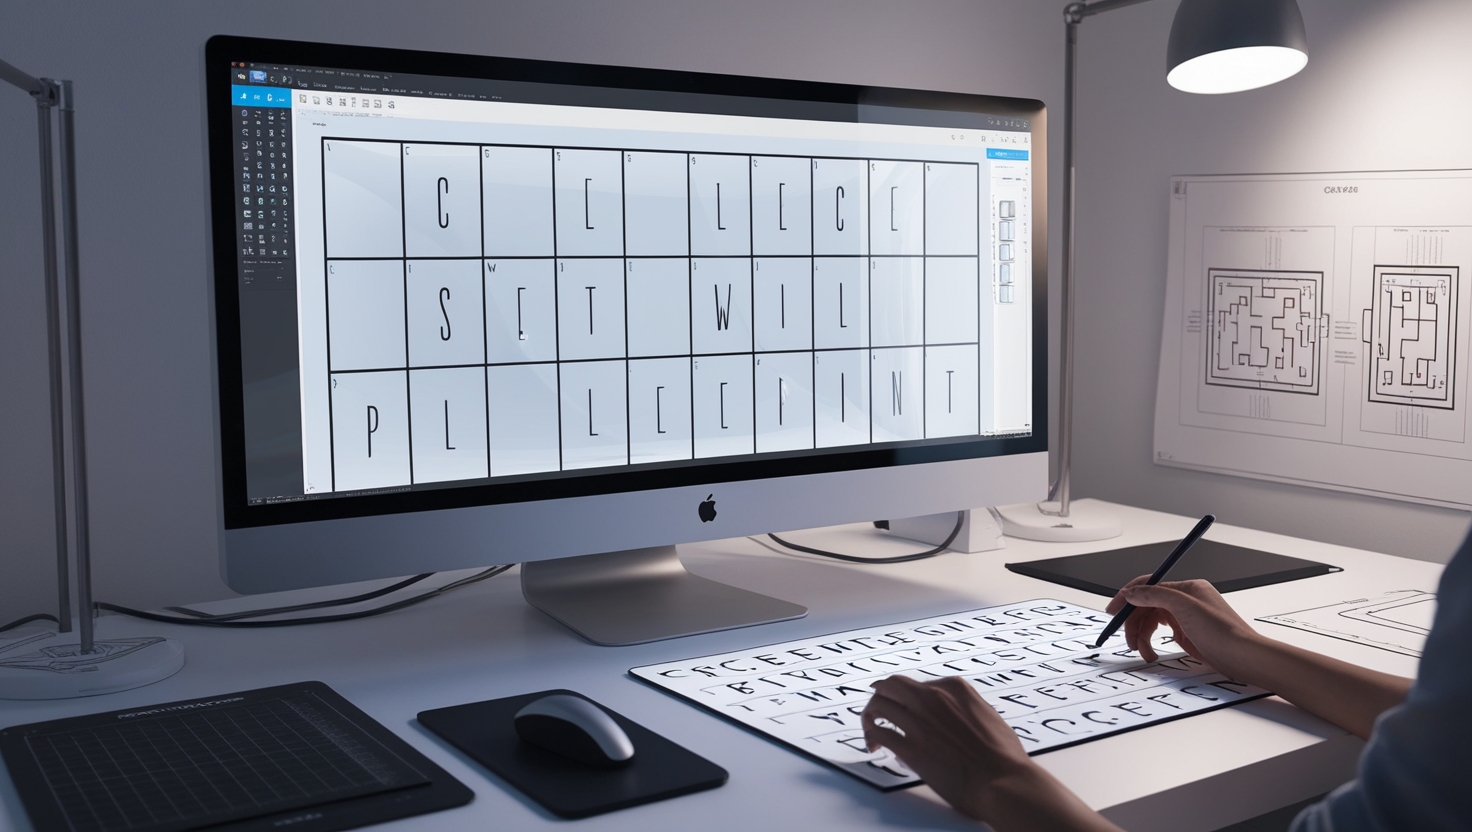
Next up, it’s time to hit the design software. Sketching your word puzzle digitally is like creating a blueprint for a masterpiece. Open up whatever design software you vibe with, and start building your word grid. Keep it sharp but simple — you want it to look fire, but also functional for cutting.
Design It Digitally
- Choose simple design software.
- Start with a basic grid layout.
- Ensure the lines are straight and even.
Make It Readable
- Use bold, clear fonts.
- Check that the letters don’t overlap.
- Ensure each word stands out visually.
Adjust for CNC
- Keep the paths smooth.
- Simplify curves where necessary.
- Avoid super detailed or small fonts.
Now, make sure your design is readable. I know you wanna challenge people with the puzzle, but you still need the letters to pop. Pick a font that’s bold but clean — something that’ll look good when it’s cut out. You don’t want to end up with letters that nobody can figure out ’cause they’re too fancy or squished together.
And before you lock in that design, check it for CNC-friendliness. Every line, every curve has to be something the machine can cut without stressing out. Simplify where you can, keep it tight, and make sure nothing’s too intricate. Once your blueprint is solid, you’re ready to move on to the big stuff.
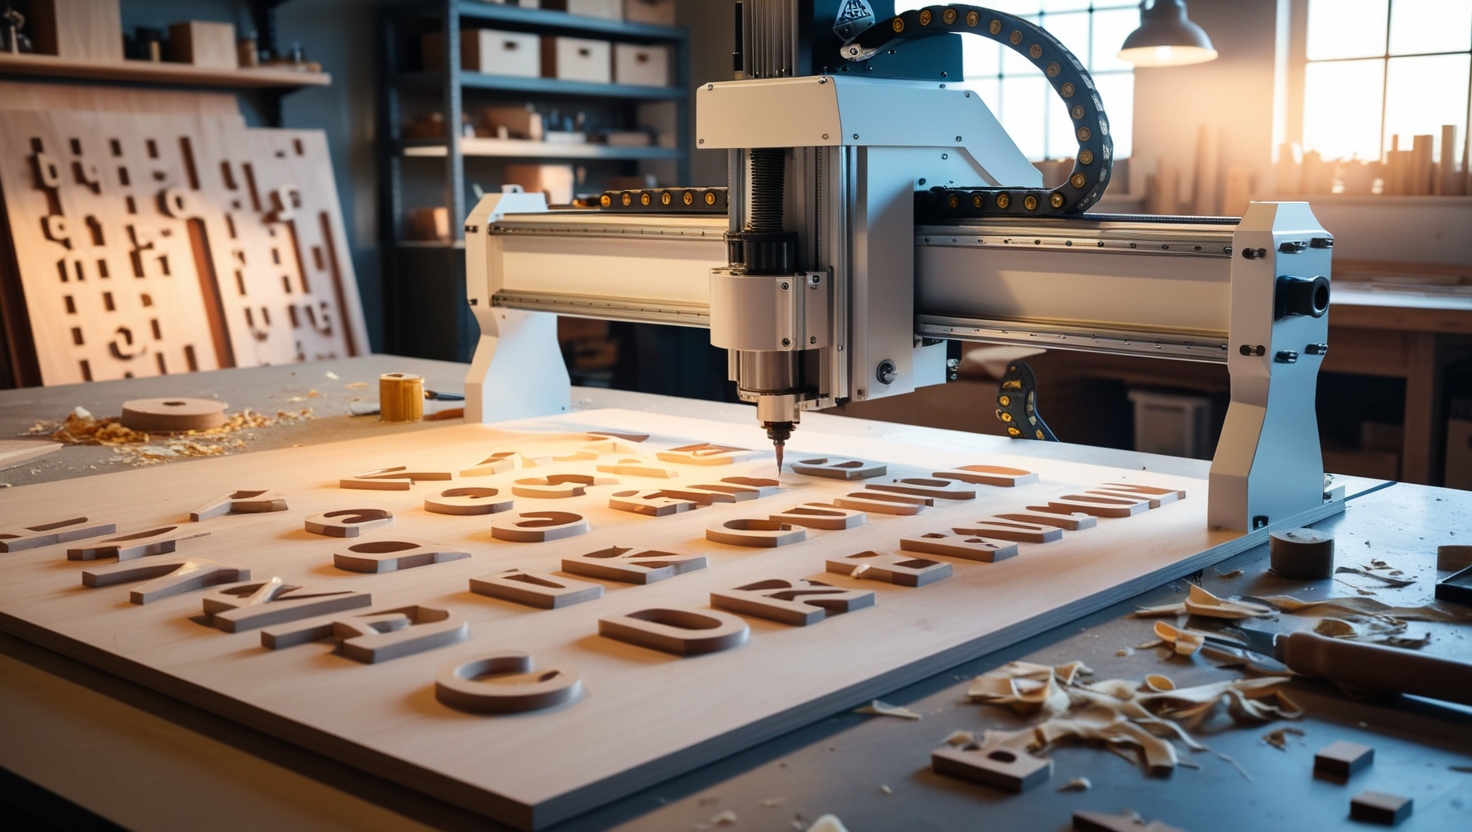
Import & Optimize
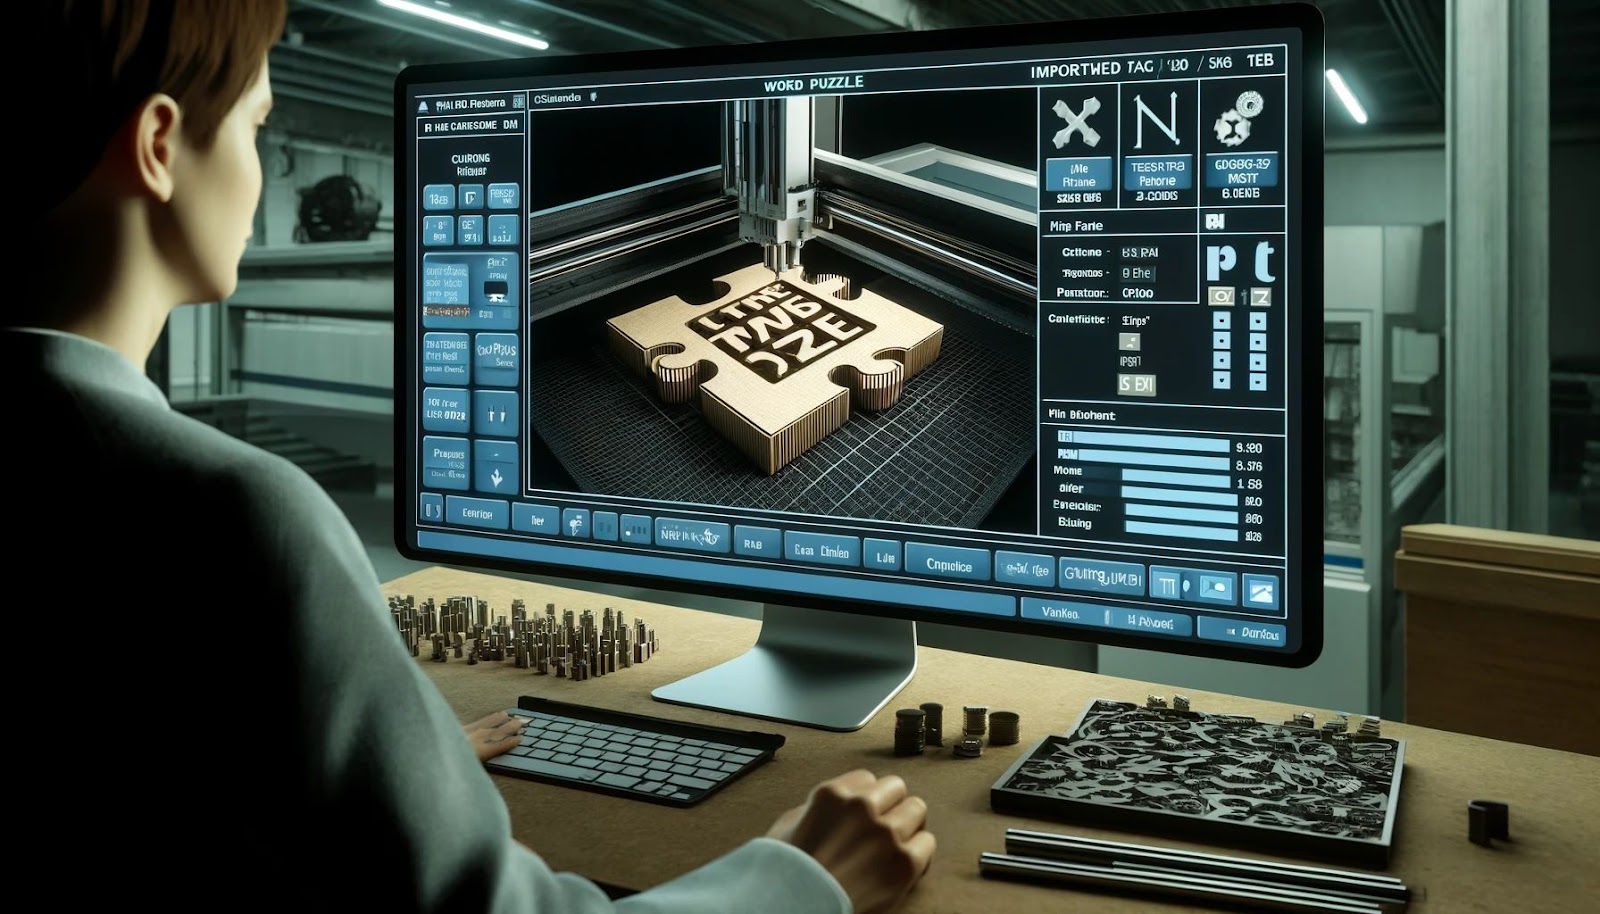
Time to bring that design to life. Import your puzzle file into the CNC software, and this is where the magic starts. Make sure you’re importing the right file format — STL is usually the move, but whatever works with your setup. Once it’s in, you’ll see your puzzle grid transform from flat on your screen to something real.
Import to CNC Software
- Use an STL or DXF file format.
- Double-check for any import errors.
- Ensure all lines are properly connected.
Check Cutting Paths
- Review each path for efficiency.
- Remove unnecessary lines.
- Make sure there’s a clean start and end.
Optimize for Speed
- Set moderate cutting speed.
- Avoid slow cuts for faster production.
- Adjust speed for different materials.
Now, before you start the cutting process, you gotta check those tool paths. This step’s critical — if your paths aren’t smooth, you’re in for a messy cut. Go through and make sure the lines are clean, the curves are right, and nothing’s gonna trip up the machine. This is your chance to fix any funky spots before it’s too late.
Finally, speed is key. You wanna optimize the cutting process, so your machine’s moving just fast enough to get clean cuts without rushing. Too slow, and it’ll take forever; too fast, and the cuts might get sloppy. Get it dialed in just right, and you’ll be golden.
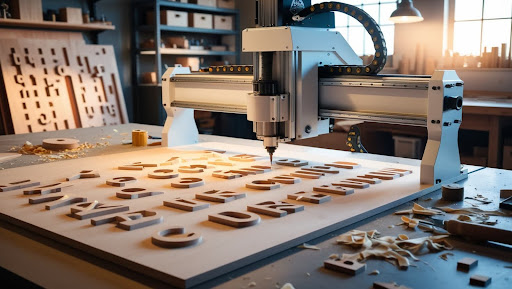
Get Your Tools Right
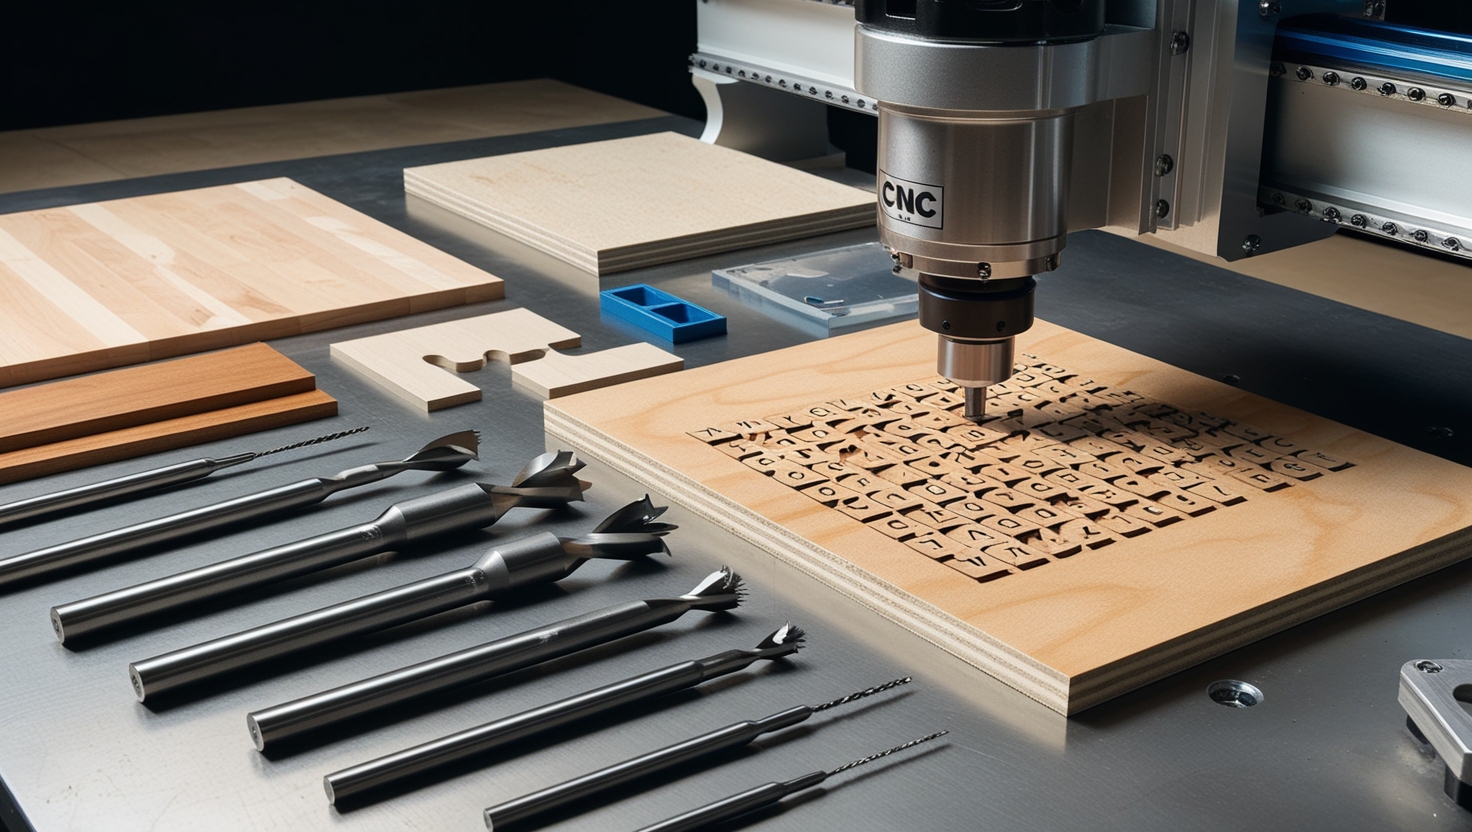
Alright, let’s talk tools. When it comes to CNC, bit selection is everything. For the fine details in your word puzzle, you’re gonna need small bits — think 1/8 inch or smaller. For the bigger cuts, you’ll want something chunkier like a 1/4 inch bit to carve out the grid faster. It’s all about balance.
Bit Selection
- Use a fine bit for detailing.
- Medium bit for average cuts.
- Large bit for fast, deep cuts.
Material Choice
- Wood for a classic feel.
- Acrylic for a modern vibe.
- MDF for easy cuts.
Test Run
- Test a small section first.
- Watch for any glitches.
- Adjust depth or speed if necessary.
Now, materials. This is where things get fun. You can go classic with wood, slick with acrylic, or even bold with metal if you’re feeling extra. Whatever you pick, make sure it’s solid enough to hold the cuts, but not so tough that your machine struggles. Lock your material into place, and double-check it won’t budge during the process.
Before you jump into the full cut, always — and I mean ALWAYS — do a test run. Use a scrap piece or a smaller version of your design to see if everything’s set right. It’s like a preview of your final product, and it’ll save you from any major fails before it’s too late.
Time to Start Cutting
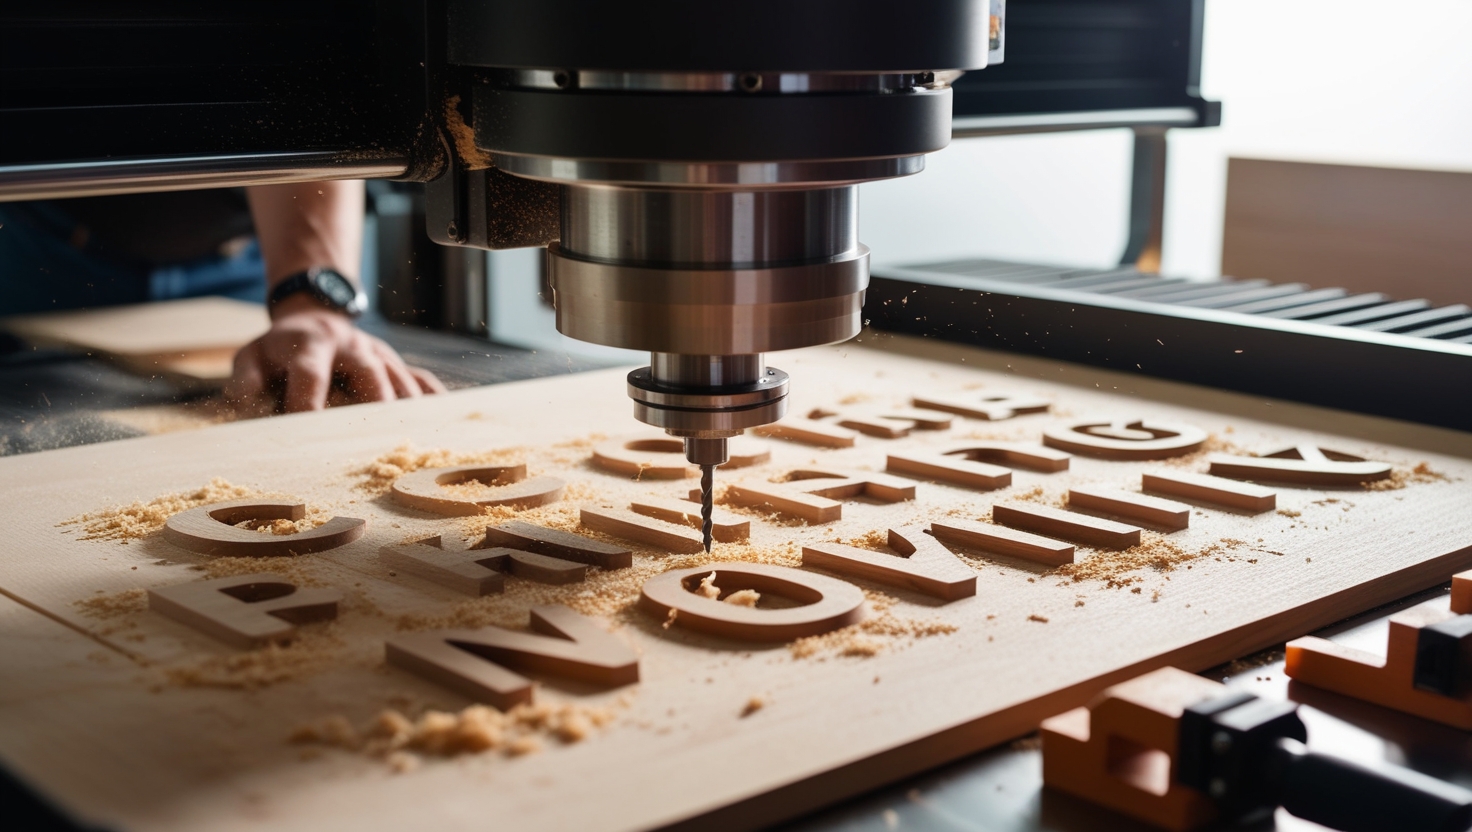
Let’s hit that start button and let the CNC do its thing! The first cut is always a little nerve-wracking, but once it gets going, it’s satisfying to watch. The machine will carve out those letters, one by one, bringing your word puzzle to life. Sit back and let the process unfold, but keep an eye on it — you never know when a small tweak might be needed.
First Cuts
- Start with the outer edges.
- Move to the inside lines.
- Watch for uneven cutting paths.
Pause for Adjustments
- Stop if the cut looks shallow.
- Reposition the material if needed.
- Double-check alignment.
Complete the Carving
- Let the CNC finish each section.
- Make sure every word is carved fully.
- Check the cuts for smoothness.
Sometimes, things don’t go exactly as planned. If you notice a line looking wonky or the depth isn’t quite right, pause the machine and adjust. There’s no shame in making sure it’s perfect. A quick pause and tweak can save you from an ugly final product, trust me.
Once the machine is in its groove, let it finish the job. Every letter, every grid line — it’s all gotta be perfect. Let the machine go all the way, don’t rush it. You’re carving a masterpiece here, and precision is the name of the game.
Polish Up Those Edges
Now that the carving’s done, it’s time for some good old-fashioned elbow grease. Start by sanding down the rough edges. CNC machines are great, but they can leave some jagged spots. Use fine-grit sandpaper to smooth everything out, especially around the letters and the puzzle grid lines.
Sand the Rough Edges
- Start with coarse sandpaper.
- Move to fine grit for smoothness.
- Focus on any rough patches.
Buff the Surface
- Use a cloth or buffing tool.
- Polish each letter carefully.
- Go in circular motions for best results.
Scan for Imperfections
- Look for splinters or rough spots.
- Fix any uneven areas.
- Double-check all the puzzle pieces.
Once it’s smooth, time to make it shine. Grab a soft cloth or buffing tool and start polishing. You want this puzzle to look sleek and pro-level, so don’t skimp on the buffing process. Circular motions work best to bring out that perfect finish.
Finally, inspect every inch of your puzzle. Look for any imperfections — burrs, splinters, or rough spots that might’ve slipped through. You want this thing looking flawless before you show it off, so fix anything that needs it.
Paint or Stain? Decision Time
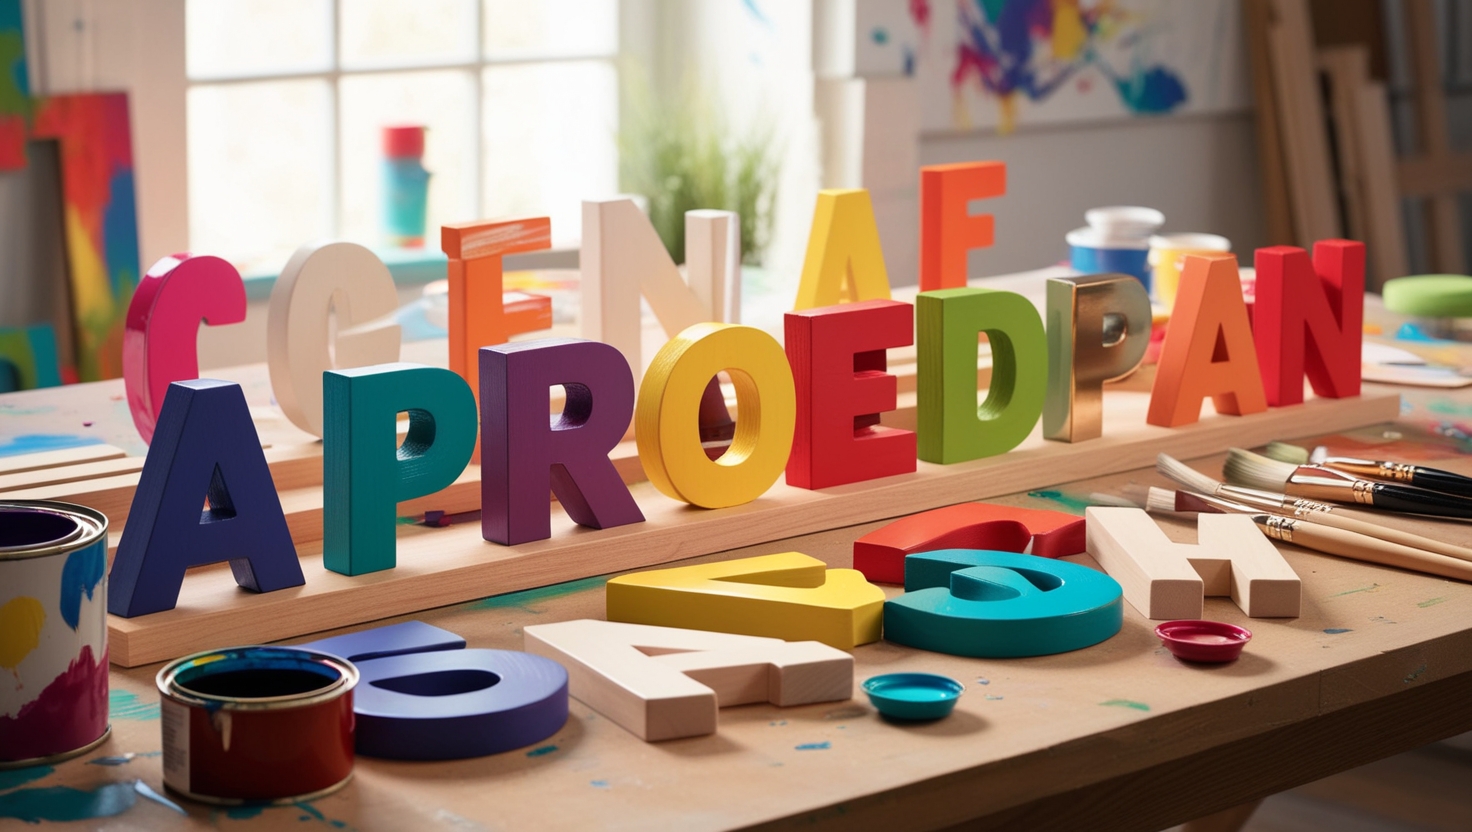
Now the real fun begins — deciding how you want your puzzle to look. You can go bold with some wild colors, or keep it classic with a simple wood stain. Either way, you’re gonna need to bring out the paintbrushes and get creative. Bright colors make the letters pop, but don’t be afraid to experiment with metallics or neon.
Choose Your Colors
- Go classic with black and white.
- Experiment with bright colors.
- Try metallics for a unique look.
Paint the Letters
- Use small brushes for precision.
- Apply even coats for a smooth finish.
- Let each layer dry before adding more.
Seal It Up
- Apply a varnish coat.
- Add extra layers for durability.
- Let it dry completely before using.
When you’re painting the letters, take your time. You don’t wanna rush this part and end up with messy edges. Use small brushes and paint carefully between the lines, making sure every letter stands out clearly.
Once your paint’s dry, don’t forget to seal it. A coat of varnish will protect your work from wear and tear, especially if this puzzle’s gonna get some heavy use. You can even add multiple coats for extra durability and shine.
Flex Your Finished Puzzle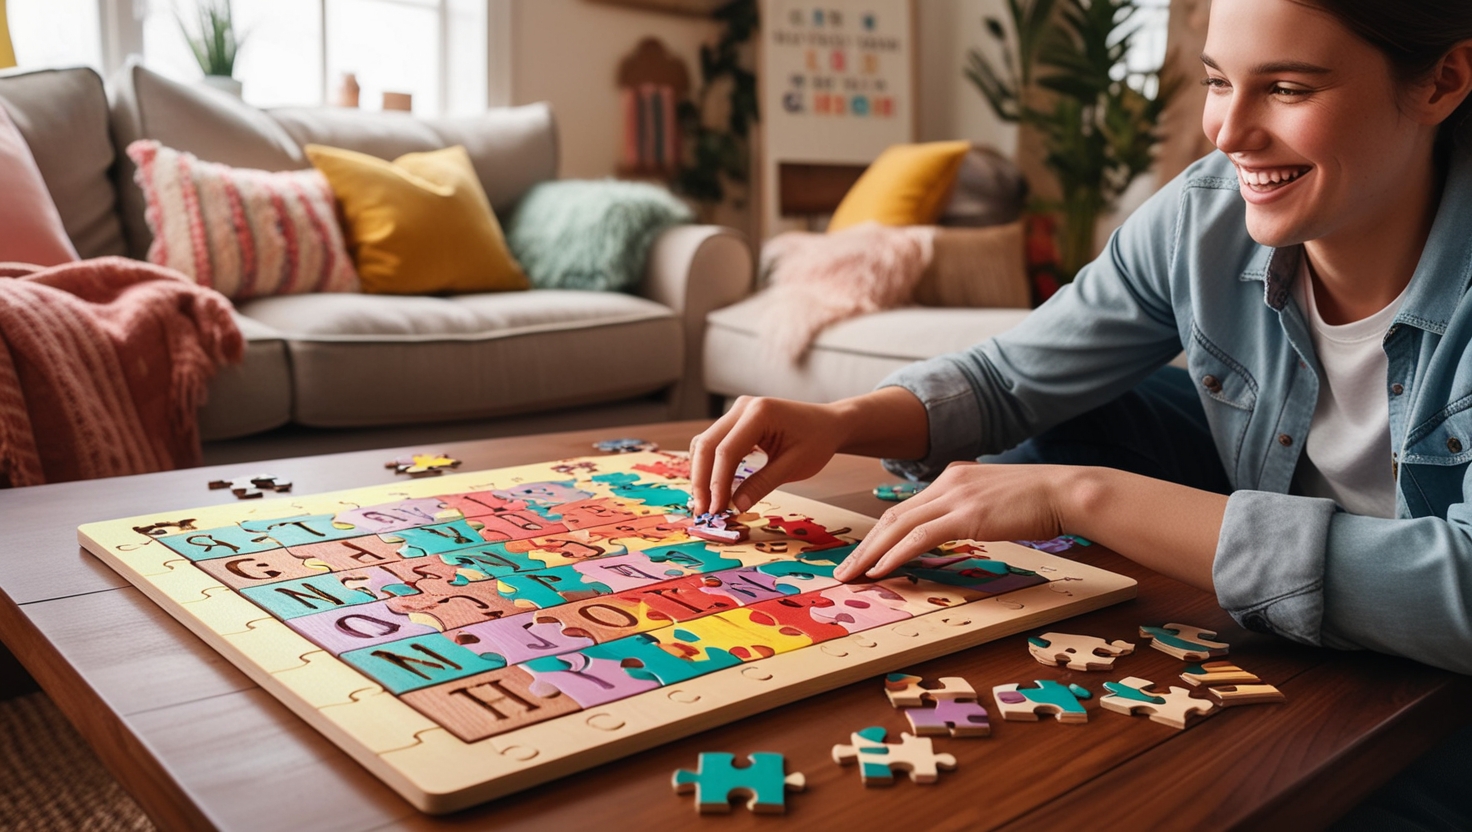
Time to flex your puzzle-making skills! Test it out by handing it over to a friend or family member and watch them try to solve it. This is the moment of truth — seeing how fun and challenging your creation really is. If they’re struggling but smiling, you’ve done your job.
| Test It Out | Gift or Keep | Snap Some Pics | Post & Share |
| Hand it to friends to solve. | Decide if it’s for you or a gift. | Capture the puzzle’s best angles. | Share it on Instagram or TikTok. |
| Check how challenging it is. | If gifting, wrap it up nicely. | Use natural light for clarity. | Use puzzle hashtags to get noticed. |
| Fix any issues if they struggle. | Keep it as a showpiece if it’s fire. | Edit the photos for perfection. | Tag CNC communities for visibility. |
Once you’ve tested it, decide if you’re keeping it for yourself or gifting it. If it’s a masterpiece, it might be worth displaying on a shelf for everyone to see. Or, if you’re feeling generous, pass it along as the ultimate custom gift.
Finally, it’s time to share your work with the world. Snap some pics, capture all the angles, and post it on social media. Watch the likes and comments roll in as people admire your CNC puzzle-making skills. Don’t forget to tag it with all the right hashtags — #PuzzleKing, #CNCVibes, #WordPuzzleGoals. You’re officially a CNC word puzzle legend!